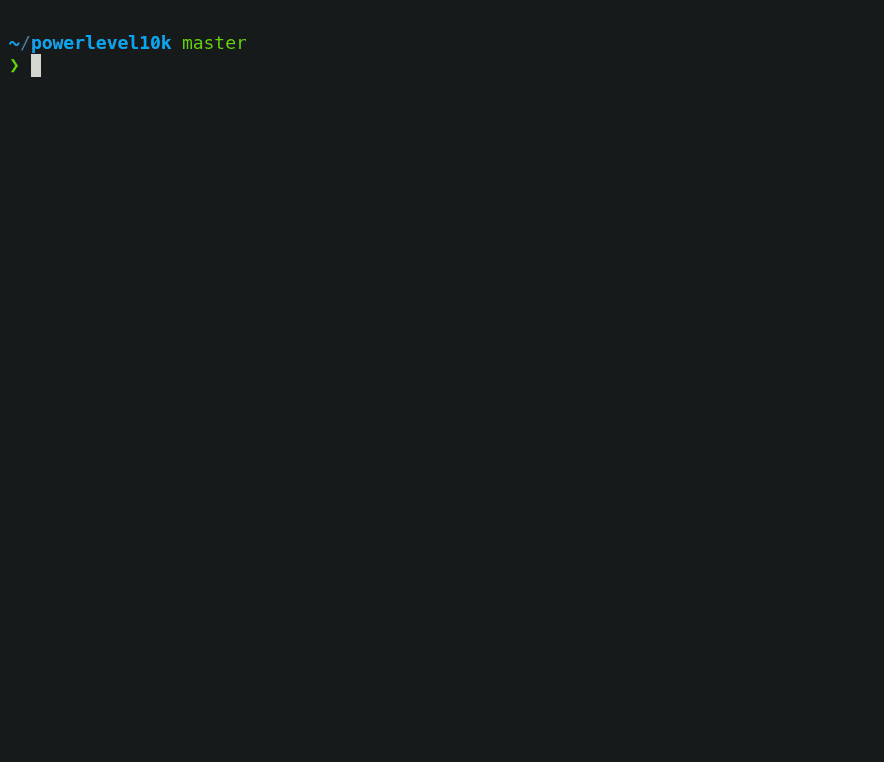
Sharing my Zsh setup: Oh My Zsh + Powerlevel10k + plugins = ❤️

This is my first time writing a tech blog post, sharing my own knowledge and experience. Today, I’d like to share my personal setup of Oh My Zsh + Powerlevel10k + some commonly used plugins. This setup has made my terminal experience more enjoyable, and I hope you can have the same delightful experience as I have. 😊
1. Reference
This blog post is written based on the following resources:
Feel free to check them out for more detailed information.
2. Prerequisites
This guide works well for Linux (including WSL2), MacOS, and Windows Git Bash.
3. Step 1: Install Necessary Fonts
Powerlevel10k works best with its own font called Meslo Nerd Font. Therefore, you need to install it on your OS first. Then, for each shell/terminal program you use (VSCode, Intellij, Windows Terminal, iTerm2, to name a few…), you need to configure it to use these custom fonts.
I know this is a pretty tedious work. Fortunately, Here is the guidance from the Powerlevel10k official GitHub repository. The guide provides instructions on configuring the terminal to utilize the Meslo Nerd Font across many of the well-known terminals.
4. Step 2: Install Necessary Dependencies
Oh My Zsh is an open-source, community-driven framework built on top of Zsh. The installation process also requires other dependencies on your OS. So, make sure you have the following installed:
zsh(Z shell)git(version control system)curlorwget(to download the installation script)
For example, on a Debian-based system, you can install them with the following command:
sudo apt update
sudo apt install curl git zsh -y
For Windows Git Bash, installing Zsh can be challenging. You can check out this post by Dominik Rys for how to install Zsh in Windows Git Bash.
5. Step 3: Install Oh My Zsh, Powerlevel10k, and Plugins
At this point, you should have all the necessary dependencies installed. Now, run the following to install Oh My Zsh, Powerlevel10k, and some common plugins.
sh -c "$(curl -fsSL https://raw.githubusercontent.com/ohmyzsh/ohmyzsh/master/tools/install.sh)" "" --unattended

git clone --depth=1 https://github.com/romkatv/powerlevel10k.git ${ZSH_CUSTOM:-~/.oh-my-zsh/custom}/themes/powerlevel10k
git clone https://github.com/zsh-users/zsh-syntax-highlighting.git ${ZSH_CUSTOM:-~/.oh-my-zsh/custom}/plugins/zsh-syntax-highlighting
git clone https://github.com/zsh-users/zsh-autosuggestions ${ZSH_CUSTOM:-~/.oh-my-zsh/custom}/plugins/zsh-autosuggestions
git clone https://github.com/Pilaton/OhMyZsh-full-autoupdate ${ZSH_CUSTOM:-~/.oh-my-zsh/custom}/plugins/ohmyzsh-full-autoupdate
The above script does the following:
- Install Oh My Zsh without triggering the interactive shell that asks the user to transfer the default shell to Zsh or not. We will transfer the default shell to Zsh manually later.
- Install the Powerlevel10k theme.
- Install the zsh-syntax-highlighting plugin.
- This plugin provides syntax highlighting for the shell, so you will know if you have typed a command incorrectly before pressing enter.
- Install the zsh-autosuggestions plugin.
- This plugin suggests commands as you type based on history and completions, which can dramatically save your time on repetitive tasks and commands.
- Install the OhMyZsh-full-autoupdate plugin.
- Since everything is installed using git, it is crucial to keep them up-to-date. This plugin will automatically update Powerlevel10k and Oh My Zsh plugins by running
git pullin the background. The update frequency depends on the Oh My Zsh settings. By default, it should be every 13 days.
- Since everything is installed using git, it is crucial to keep them up-to-date. This plugin will automatically update Powerlevel10k and Oh My Zsh plugins by running
6. Step 4: Configuring .zshrc to use Powerlevel10k and Plugins
Like Bash uses .bashrc, Zsh uses .zshrc as the configuration file.
By default, Oh My Zsh will create a .zshrc file with a default theme and a single plugin git. To enable Powerlevel10k and the plugins we just installed, we need to modify the .zshrc file.
Open it with your favorite text editor like nano and change the following lines:
- Change the theme from
ZSH_THEME="robbyrussell"toZSH_THEME="powerlevel10k/powerlevel10k". - Add more plugins to the
pluginsarray, fromplugins=(git)to:plugins=(git aliases common-aliases zsh-syntax-highlighting zsh-autosuggestions ohmyzsh-full-autoupdate)
The above can be achieved by running two sed commands:
sed -i 's/ZSH_THEME="robbyrussell"/ZSH_THEME="powerlevel10k\/powerlevel10k"/' ~/.zshrc
sed -i 's/plugins=(git)/plugins=(git aliases common-aliases zsh-syntax-highlighting zsh-autosuggestions ohmyzsh-full-autoupdate)/' ~/.zshrc
7. Step 5: Migrate .bashrc to .zshrc, and .profile to .zprofile
Skip this step if you are setting up a new system.
If you are migrating from Bash to Zsh on your existing system, you might need to take some time to migrate your .bashrc and .profile to .zshrc and .zprofile, respectively.
Unfortunately, there is no way to automate the migration. I also strongly discourage you from executing Zsh at the end of your .bashrc or .profile file, as it can cause problems for other scripts, applications, or IDEs.
However, here are some general things that worth to be considered during the migration:
- Scripts that third-party package managers like Homebrew, SDKMan, etc. have added to your
.bashrcor.profile. - Custom environment variables.
- Custom
PATH. - Custom aliases.
- Consider migrating to existing plugins in Oh My Zsh. Check out the
common-aliasesplugin and more in the official documentation. - For example, if you use Docker, consider adding the
dockeranddocker-composealiases to thepluginsarray in.zshrc.
- Consider migrating to existing plugins in Oh My Zsh. Check out the
8. Step 6: Set Zsh as the Default Shell
Finally, set Zsh as the default shell by running the following command:
chsh -s $(which zsh)For Windows Git Bash, as far as I know, there is no official way to set another shell as the default shell. However, you can run zsh manually every time you open the terminal. Or append this script to the end of your .bashrc file to automatically run Zsh when you open the terminal (Yeah, it goes against what I said in Step 5, but it’s the best we can do for now 😕):
# At the end, switch to zsh
if [[ -t 1 && -x /usr/bin/zsh ]]; then
    export SHELL=$(which zsh)
    if [[ -o login ]]
    then
        exec zsh -l
    else
        exec zsh
    fi
fi
Feel free to leave a comment below if you have a better solution for setting Zsh as the default shell in Windows Git Bash.
9. Step 7: Running Powerlevel10k Configuration Wizard
After you have set Zsh as the default shell, starting a new terminal session will immediately bring you to the Powerlevel10k configuration wizard. You can also run p10k configure at any time to run the wizard again. The wizard will guide you through the process of configuring Powerlevel10k to your liking.
Screen recording of the Powerlevel10k Configuration Wizard (from the official GitHub repo)
Going through the wizard can be time-consuming. So here, I have prepared a snippet of answers that you can use to quickly configure Powerlevel10k to be like the style shown in the GIF above. Just copy and paste it after you have just started the p10k configure wizard:
y
y
y
y
3
1
2
1
1
1
2
2
3 # change this to 1 if you want to use the style shown in the featured image of this post
2
2
2
1
y
1
y
10. Conclusion
That’s it! You have successfully set up Oh My Zsh with Powerlevel10k and some common plugins. Now you can enjoy a more productive and enjoyable terminal experience. 😁
Any questions or suggestions? Feel free to leave a comment below.